Requests
This window is where an employee will submit a schedule request that a manager will see while building schedules in Web Scheduler. There are three types of schedule requests:
-
Time-off request - An employee may, for example, want to request one day of personal time or two days of vacation.
-
Scheduling request - An employee may, for example, have an appointment and need to come in an hour later than scheduled or leave an hour early.
-
Fixed scheduling request - An example would be an employee who isn’t available to work on Wednesdays or between 8 and 9 on Fridays.
Pending requests may also be viewed and requests that have not been approved or denied may even be deleted.
The ability to submit/view/delete requests must be enabled in Web Manager (Configuration > Preferences > Defaults > Request Entry).
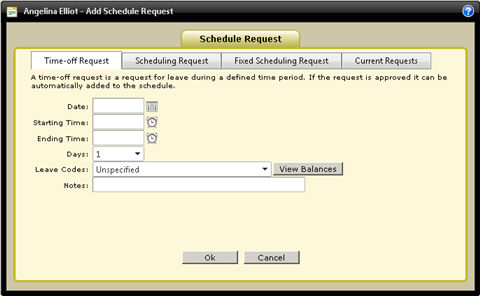
Time-off Requests
- Click the View button or Request button. If you clicked the Request button then skip to step 3. Otherwise continue with step 2.
- From the confirmation screen (the screen with the employee’s name and current time), click the Request button.
- Choose the Time-off Request tab.
- Enter the date being requested.
- Enter the starting time and ending time.
- Select the number of days. For example, if you are going out of town and will be gone for the date specified in step 5 and also the following day then select 2. If you are taking some personal time and will only be out for the date specified in step 5 then leave 1 selected.
- Select the Leave code (the job code that this time-off should fall under) or select Unspecified.
If accruals are being tracked in TimeClock Plus then you may view your accrual balances by clicking the View Balances button.
- In the Notes field, enter an explanation for this request.
- Click OK.
- Click Yes to confirm and OK on the submitted message.
- Click OK to return to the main screen.
Return to top
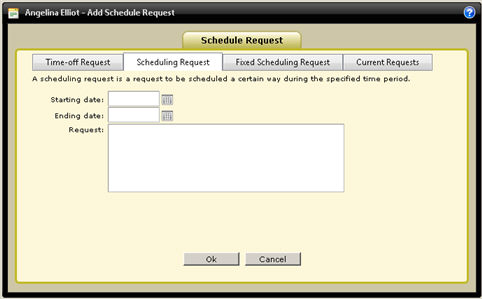
Scheduling Request
- Click the View button or Request button. If you clicked the Request button then skip to step 3. Otherwise continue with step 2.
- From the confirmation screen (the screen with the employee’s name and current time), click the Request button.
- Choose the Scheduling Request tab.
- Enter the starting date and ending date of the schedule change being requested.
- In the Request field, enter the change you wish the manager to make.
- Click OK.
- Click Yes to confirm and OK on the submitted message.
- Click OK to return to the main screen.
Return to top
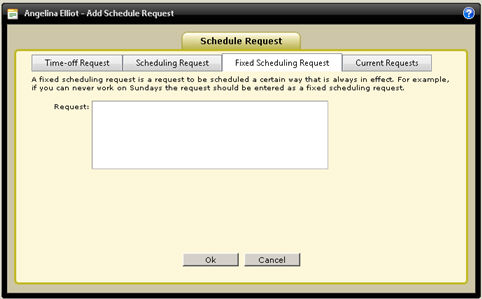
Fixed Scheduling Request
- Click the View button or Request button. If you clicked the Request button then skip to step 3. Otherwise continue with step 2.
- From the confirmation screen (the screen with the employee’s name and current time), click the Request button.
- Choose the Fixed Scheduling Request tab.
- In the Request field, enter the details of this fixed request (e.g., I will not be available on Sundays or I will not be available between 8 AM and 9 AM on Tuesdays and Thursdays).
- Click OK.
- Click Yes to confirm and OK on the submitted message.
- Click OK to return to the main screen.
Return to top
Viewing Pending Requests
- Click the View button. If you clicked the Request button then skip to step 3. Otherwise continue with step 2.
- From the confirmation screen (the screen with the employee’s name and current time), click the Request button.
- Choose the Current Requests tab.
To remove the request, highlight it, click Remove, and Yes to confirm.
Return to top